The custom elements feature of Fonts Plugin Pro allows you to control the typography of any section of your website by targeting CSS selectors. In this article we are going to look at how to find CSS selectors.
Understanding CSS Selectors
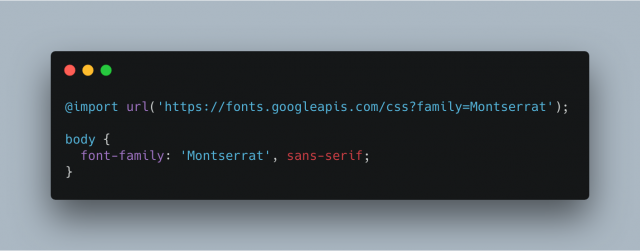
CSS selectors can be IDs or Classes. Here’s an example:
<h2 class="sidebar-heading">Welcome!</h2>
In this example, we are using a class named ‘sidebar-heading’.
<button type="button" id="buy-button">Click Here</button>
In this example, we are using an ID named ‘buy-button’.
When you are targeting a class in CSS it is proceeded by a period, IDs are prefixed with a hash symbol.
.sidebar-header { margin-top: 20px }
#buy-button { background-color: black }
A single element can have both classes and IDs, it can also have multiple classes. However, only one ID is permitted.
<h2 class="heading sidebar-heading" id="heading">Welcome</h2>
Finding CSS Selectors
Most modern browsers have tools that make it possible to find the selectors of an element without having to view the entire page source.
In Chrome, right click an any part of your website and click ‘Inspect’ and you will be shown a myriad of information about the element.
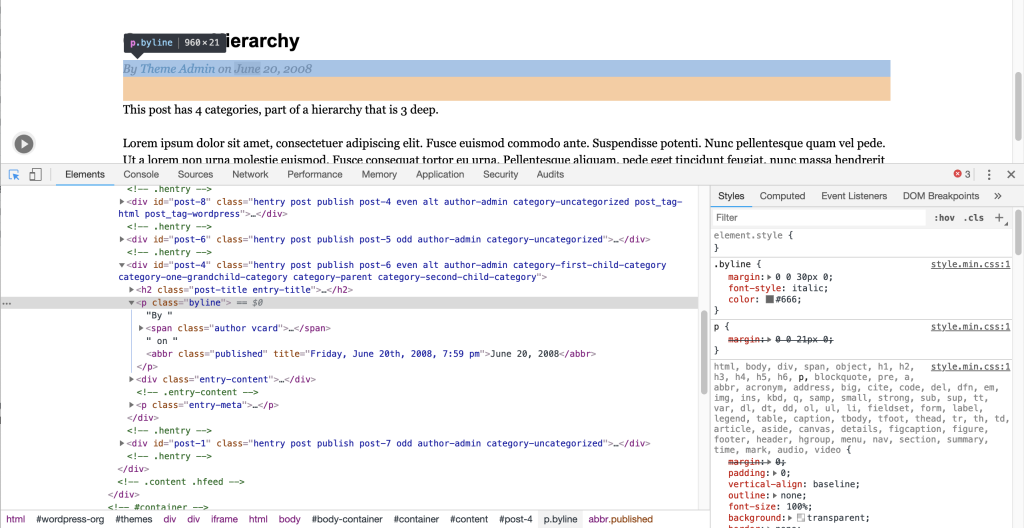
This might seem like information overload, but for our purposes we only need to focus on one small part of this view, the ‘Styles’ column.
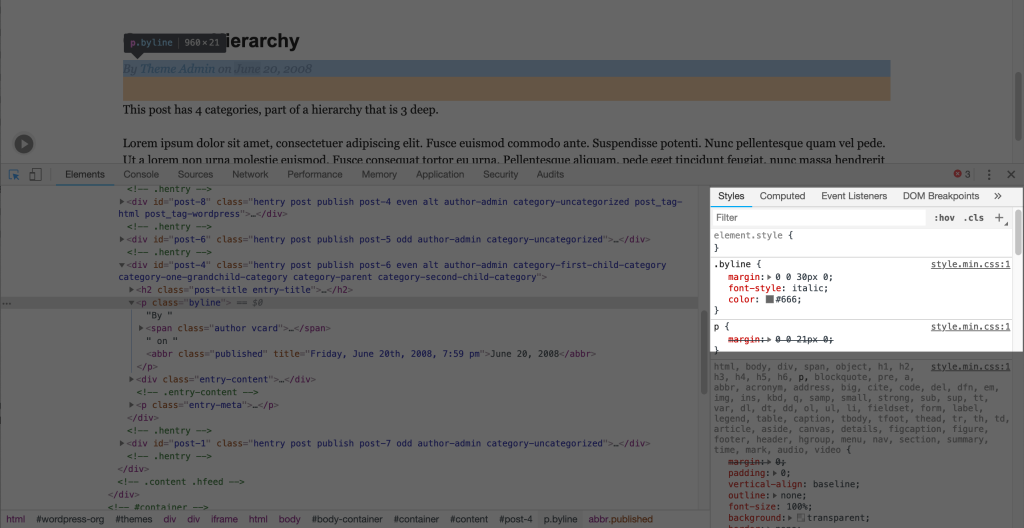
The ‘Styles’ column tells you which styles are being applied to an element, the list is ordered by priority. In most cases the styles at the top are being applied and overwriting any displayed below.
Tip: Chrome shows us which styles are being overwritten by crossing them out.
In the example above we have right-clicked the byline element, and Chrome is telling us that there are styles being applied to the .byline class.
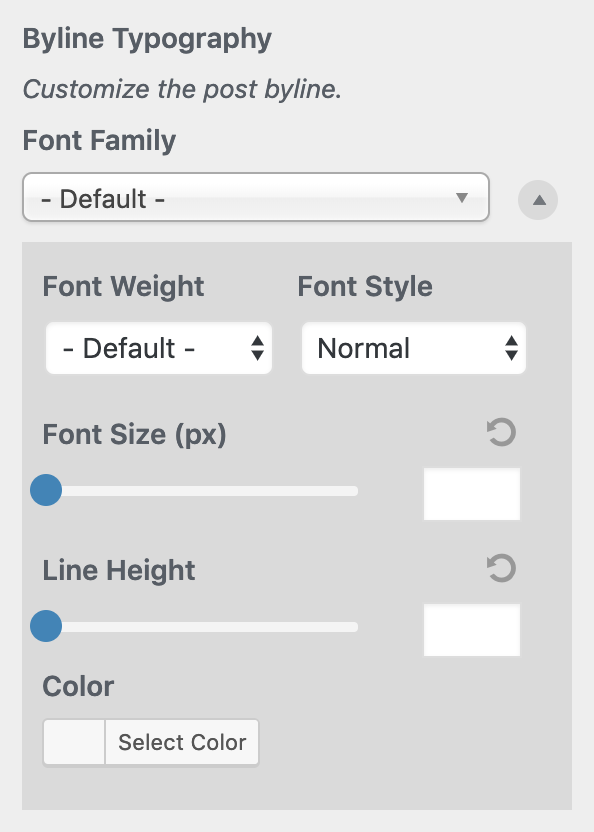
Building Your Setting
Now we know the CSS Selector of an element we want to control the typography of, we can easily create a Custom Element inside the Fonts Plugin Pro.
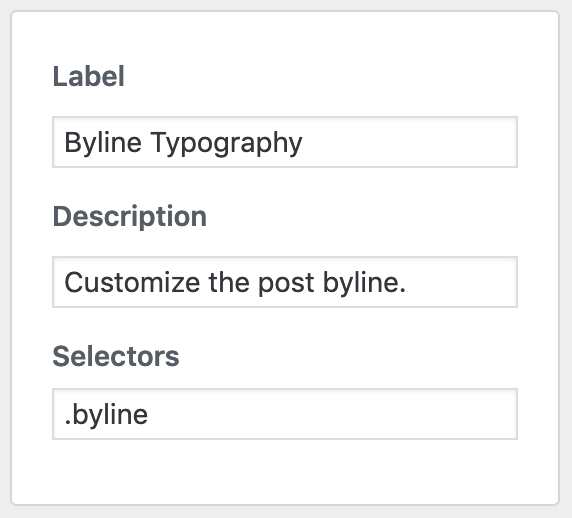
Click ‘Save Elements’ then navigate to Google Fonts → Advanced Settings → Custom Elements and your new setting will be available: