Google Fonts is a collection of 900+ stunning fonts that you can use on your personal or business website for free. In this
Note: If you are using WordPress there is an easier way to use Google Fonts.
Choose Your Fonts
The first step is to choose the font(s) you want to use on your website.
With so many choices it can be tough to choose. Luckily Google has the option to sort by popularity.
Once you’ve chosen your fonts, click the red plus sign on each one to build your collection. Each font does add some weight and loading time to your pages, so I recommend limiting yourself to two fonts.
Google will begin counting your fonts at the bottom, click the black bar to see more information.
There are two ways to embed your fonts: ‘Standard’ and ‘@import’. We will be using the import method as it only requires editing one file, your .css file.
Get Your Import Code
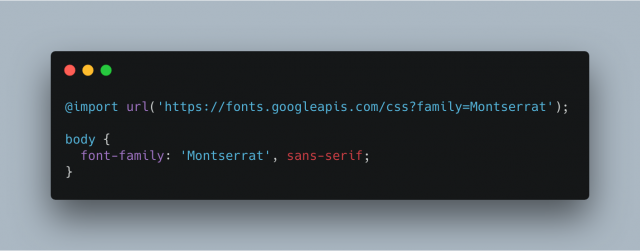
Click @import and Google will present you with some code you can copy and paste. For this example I will be using two fonts, Dosis and Quicksand:
@import url('https://fonts.googleapis.com/css?family=Dosis|Quicksand');This code can be pasted directly at the top of your .css file. The @import code will pull in all the required font files for the fonts you have chosen.
Specify Your Fonts
Now you have imported the fonts, you can begin using the fonts within your CSS file. There are two ways you can do this:
Modify an Existing CSS Rule
Your website likely already has rules for how text should look, for example:
body {
    font-family: Arial;
    font-size: 16px
    color: #000;
}
I chose the ‘Dosis’ font above, so I will replace Arial with that.
body {
    font-family: Dosis;
    font-size: 16px
    color: #000;
}
Editing existing rules is a good option and will work almost every time. However, you may not want to touch existing code, or you might want to create a rule that targets a specific set of elements. To do that, we create new rules.
Create New CSS Rules
Because of CSS inheritance, this technique is more likely to work if you place your new rules at the bottom of your .css file. In this example I will assign the ‘Quicksand’ font to text in my sidebar:
.sidebar {
    font-family: Quicksand;
}
I could also be more specific and only target headings in the sidebar:
.sidebar h2, .sidebar h3 {
    font-family: Quicksand;
}
Sometimes, because of CSS specificity, your new rules won’t work. If you are interested in learning CSS it’s valuable to learn why that is happening. But for now, we can shortcut that process by using the
.sidebar {
     font-family: Quicksand !important;
}
Declarations using !important will overwrite most other settings, which is why this will almost always work.
Final Thoughts
Google Fonts is one of the best free resources available for customizing your website. In this guide, we have looked at the easiest way to add them using CSS. If you’re looking for extra inspiration, check out these excellent font combinations.